"Whoo hoo!" my kids cheered when I told them that we would be able to review the Starter Kit with Aluminum Buckets from Tap My Trees. They love maple syrup and for years have been asking if we make some ourselves.
Until now, I admit, I have responded to my children's pleas to harvest our own maple syrup with a half-hearted, "We'll see..." For I just was not sure I had the knowledge, means, nor energy to take on such a project. However, now that we have the Tap My Trees' Starter Kit in hand, my "We'll see..." has become a "You bet!"
Yes, 2016 will be the year my kids finally get to try their hands at making their own maple syrup!
Everything You Need for Sugaring Except a Drill and a Tree
Although I knew what we'd be getting in our Starter Kit before it arrived, I was still pleasantly surprised when our Tap My Trees came in. For I just love a company that has personality and pays attention to detail, and, from the first moment I saw our kit all packaged up, I knew Tap My Trees is a company to love.
Every item in the box was received was carefully (but not excessively) packaged and the box itself spoke of the company's story:
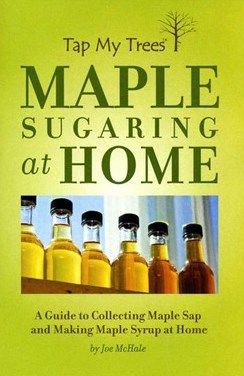
Joe McHale took a simple way to teach his family about nature and the origin of food and became the #1 supplier of maple sugaring supplies for hobbyists, no doubt, by making sugaring accessible through a clearly written, step-by-step guide that takes you from identifying tress to tap to boiling sap into maple syrup, and everything in between.
The guide clearly describes how to:
- select trees for tapping
- tap trees
- collect and store sap
- clean and sanitize supplies
- make maple syrup
- use sap for purposes other than maple syrup
- wrap up the sugaring season
The book also contains Frequently asked Questions, a Resources list, a Quick Reference Checklist, and blank Note pages.

Joe McHale paired this slim, yet complete 44-page guide together with everything you need to begin your own family adventure in maple sugaring in order to make a kit that can get anyone with a drill and a tree started. The provided supplies include:
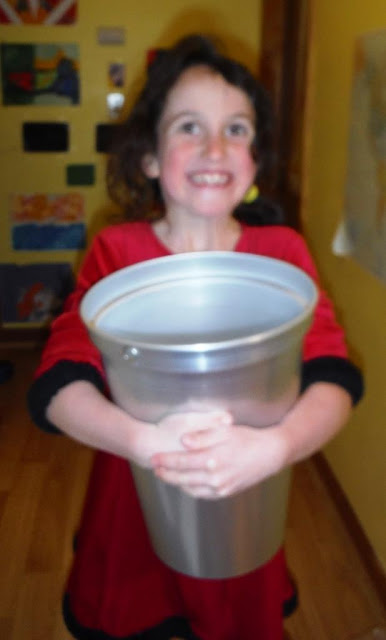
- 3 2-gallon Aluminum Buckets to collect sap in as it drips from the spile
- 3 Metal Lids to prevent rain, snow, and foreign material from entering the bucket
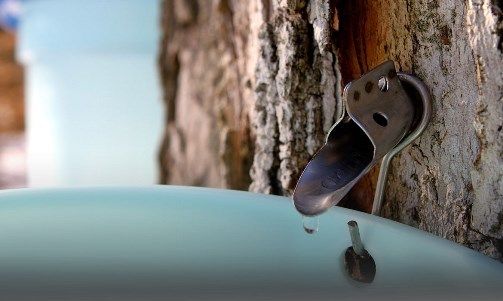
- 3 Stainless Steel Spiles (taps) to be inserted into drilled holes to transfer sap into a bucket
- 3 Hooks to be attached to spiles and used to hang the buckets
- 1 7/16 Drill Bit with 3/8 shank in order to drill tap holes into your maple trees
- 1 Cheesecloth used to filter any solids (such as pieces of bark) when transferring sap from the collection buckets to a storage containers
Getting Started
Right on the box of the Starter Kit is a handy flow chart of how and when your maple sugaring season might progress.
As noted on it and in the clip below, ideally, you identify which trees to tap in mild weather:
Or,
if you are silly like my daughter and I, you wait until after you've
got a good layer of snow and then run out, all excited to get get
started, less-than-appropriately dressed for the season.
"Mean Mama" that I am, I would not let my kids dive too far into our Maple Sugaring Starter Kit until after the Christmas season was over and I had a chance to read through the included guide (which took very little time once I actually finished seasonal hoopla and sat down with it!) So, when I finally okayed the kids to unwrap, read, and be read to, my daughter literally jumped with excitement (this the blurry picture):
And, without pausing to put on leggings or snow pants, got right to measuring one of the trees in our front yard:
And, then, she measured another, and another...
After doing so, we headed back inside and referred back to the guide, where we affirmed that we could put all three of our buckets on one tree. However, for fun, my daughter would like us to tap more than one tree.
My oldest boy, meanwhile, has been reading up on our next maple sugaring steps on his own. I dare say he'll be an expert on both the how-to's and the why's of maple sugaring in no time.
For,
having enjoyed sap straight from trees on past maple sugaring tours and
at a friend's house before, he fancies the idea of drinking sap
straight from our own trees. And, now, he knows it is purported to be
healthy to do so as well!
Of course, he doesn't want us to drink all the sap, though. Some, he says, must be made into syrup so we can make "sugar on snow" like he did after a recent snowfall, but, this time with our own homemade sugar.
Yes, indeed, none of us can wait to see something like this right out our own front door:

With the guide book read, trees picked and supplies on hand, soon the tapping and sugaring can begin! Whoo hoo!
Learn More
We are well-pleased with the quality of he guide and supplies contained in the Starter Kit by Tap My Trees and think other families seeking to learn about maple sugaring and to try their own hands at it would be, too. So, if you have maple walnut, or birch trees nearby and want to begin home-based maple sugaring, head on over to Tap My Trees to get started. You'll find all the supplies and information you need there and get free shipping on it all.

You may also wish to read what 15 Schoolhouse Review Crew families think of Tap My Trees.

Or, perhaps you'd like to get social with Tap My Trees at:
- Facebook: https://www.facebook.com/TapMyTrees/
- Twitter: https://twitter.com/tapmytrees
- Instagram: https://www.instagram.com/tapmytrees/
- Pinterest: https://www.pinterest.com/tapmytrees0518/
- YouTube Channel: https://www.youtube.com/channel/UCB6yQre-XsOl6bo6dO-K5Xw


